
Thank you for your interest in Folding Trees!
Eve Henley and I (June Gilbank from PlanetJune) started Folding Trees in June 2008, at a time when paper crafts were often neglected among modern crafters. We saw the need to showcase that paper crafting encompasses much more than just scrapbooking, and our goals were to collect the best tutorials, highlight inspirational paper creations from talented artists and crafters, and share our own paper crafts and tutorials.
We wrote close to 600 posts for Folding Trees and found a loyal following of well over 5,000 readers per day. In December 2009, we decided we had accomplished our mission to bring modern, stylish paper crafts to the world, and the site remained online as an archive from 2010-2015. Although Folding Trees is now just a memory, it leaves a lasting legacy in the ongoing popularity of papercrafts.
Looking for Papercraft Tutorials?
To preserve the best of Folding Trees, I've remade and repackaged my best original tutorials as PlanetJune donationware, so if you like papercrafting, or would like to try it out, take a look at my free papercraft tutorials for some easy, fun and attractive paper projects!
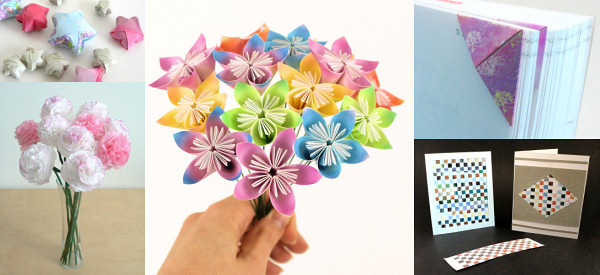
You can find tutorials for all the projects pictured above, and more, at PlanetJune Papercraft.
Thank you for your support, and keep on crafting with paper!
June Gilbank
www.planetjune.com